In this article, we will guide you through removing a window screen. Whether you need to clean the window or perform repairs, removing the screen is often the first step. By following these steps and taking the necessary safety precautions, you can easily remove a window screen without any hassle.
Understanding the Basics of Window Screens
Window screens are crucial in keeping insects out while allowing fresh air to circulate in your home. They also provide an added layer of protection against dust and debris. Understanding the different types of window screens available will help you choose the right approach for removing yours.
When it comes to window screens, there are several types to choose from. Each type has its unique features and benefits. Let’s take a closer look at some of the most common types:
Types of Window Screens
1. Fiberglass screens are the most common and affordable type. They are known for their durability and resistance to rust. Fiberglass screens are popular among homeowners due to their affordability and long-lasting nature.
2. Aluminum screens: Lightweight, sturdy, aluminum screens are another popular choice for many homeowners. They offer excellent durability and are corrosion-resistant, making them a great option for areas with high humidity or coastal regions.
3. Solar screens: Explicitly designed to reduce heat and block harmful UV rays and are ideal for hot climates. These screens are made from specialized materials that help to keep your home cool and protect your furniture from fading due to sun exposure.
Identifying the type of screen you have is an important step in the removal process. It will help you determine the best method for removing it without causing damage.
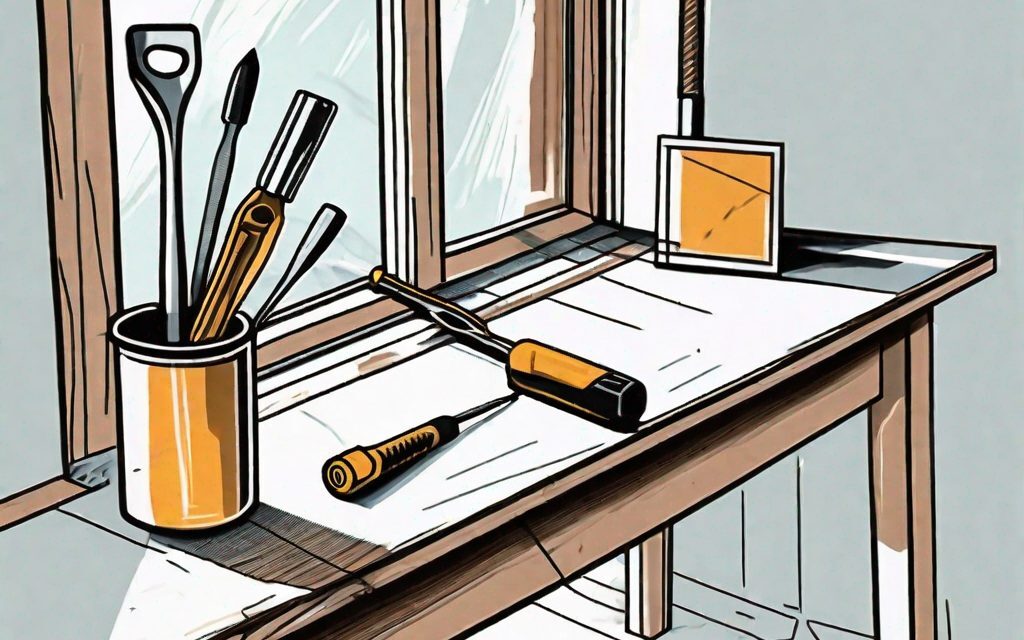
Essential Tools for Screen Removal
Before you start removing your window screen, it’s important to gather the necessary tools. The right tools will make the process much easier and safer. Here are some essential tools you’ll need:
- Flathead screwdriver: This tool will come in handy for removing screws or prying open stubborn parts of the screen frame.
- Phillips screwdriver: Similar to the flathead screwdriver, the screwdriver removes screws that may hold the screen in place.
- Utility knife: A utility knife is useful for cutting through any adhesive or sealant that may secure the screen to the frame.
- Gloves: It’s always a good idea to wear gloves when handling screens to protect your hands from sharp edges or any potential debris.
- Protective eyewear: Safety should be a top priority, so wear protective eyewear to shield your eyes from flying debris or particles.
With these essential tools, you’ll be well-prepared to tackle the screen removal process easily and confidently.
Safety Measures Before Starting
Before removing a window screen, taking the necessary safety measures is essential. Ensuring your safety should always be the priority for any home improvement project.
Protective Gear
First and foremost, wear gloves and protective eyewear to safeguard yourself against any potential injuries. This simple step can go a long way in preventing accidents and ensuring your well-being. Gloves will protect your hands from cuts caused by sharp edges or debris that may be present on the screen. Protective eyewear will shield your eyes from any flying particles or dust.
Accidents can happen unexpectedly, and it’s always better to be safe than sorry. By wearing the appropriate protective gear, you are taking a proactive approach to protect yourself.
Preparing the Work Area
Prepare the work area by laying down a drop cloth or tarp underneath the window. This will catch any dirt, dust, or loose particles that may fall during the screen removal process. It’s important to keep your surroundings clean and tidy to avoid any unnecessary mess or potential hazards.
Additionally, if you are working on an upper floor, secure a sturdy ladder or step stool to provide a stable platform. This will prevent any accidents caused by unstable footing or loss of balance.
Furthermore, if you have any pets or young children in the vicinity, it’s advisable to keep them away from the work area to prevent any accidents or injuries. Safety should always be a top priority, and taking these extra precautions will ensure a smooth and incident-free process.
Once you’ve taken these safety precautions, you’re ready to remove the window screen. Remember always to prioritize your safety and take your time to complete the task at hand. Happy screen removal!
Step-by-Step Guide to Removing a Window Screen
Follow these steps to remove a window screen:
Identifying the Screen Type
Begin by examining the edges of the screen to determine how it is attached to the window frame. Some screens are held in place by springs or clips, while others may have screws or tabs securing them.
Identifying the specific attachment method will help you use the appropriate removal technique.
Window screens come in various types, such as fixed, sliding, or hinged screens. Each type has its unique attachment method, so it’s essential to understand the specific type of screen you are dealing with.
If you are unsure about the type of screen you have, consult the manufacturer’s instructions or seek advice from a professional.
Unfastening the Screen
If springs or clips hold your screen in place, carefully push or pull these attachments to release the screen from the window frame. Take your time to avoid bending or damaging the screen during this step.
It’s important to note that some screens may have multiple attachment points, so make sure to locate and unfasten them before attempting to remove the screen.
For screens secured with screws or tabs, use the appropriate screwdriver or utility knife to remove them. Gently loosen the screws or tabs and set them aside for later use.
Before removing any screws or tabs, ensure you have a secure grip on the screen to prevent it from falling or getting damaged.
Lifting the Screen Out
With the attachments undone, lift the screen out of the window frame. Be cautious not to exert too much force or twist the screen excessively, as this can lead to damage.
Depending on the size and weight of the screen, you may need assistance from another person to safely remove it from the window frame.
If the screen feels stuck, gently wiggle it from side to side until it becomes dislodged. Take your time and exercise patience throughout the process.
Once you have successfully removed the screen, set it aside in a safe and clean area.
Inspect the screen for any signs of damage, such as tears or bent frames. If you notice any issues, consider repairing or replacing the screen before reinstalling it.
Remember to keep the removed screen in a secure location to avoid misplacing it. It’s also a good idea to label the screen if you have multiple screens in your home.
Troubleshooting Common Issues
While removing a window screen is usually a straightforward process, there may be situations where you encounter specific issues.
Stuck Window Screens
If the window screen is stuck or difficult to remove, check for any obstructions, such as dirt, debris, or paint, that may be causing the problem. Remove any foreign objects and try again.
Damaged Frames
If you encounter a damaged or weak frame during removal, handle it with care. Make sure to address the frame issue before replacing the screen to ensure a secure fit.
Post-Removal Actions
Once you have successfully removed the window screen, you can take a few post-removal actions to complete the process.
Cleaning the Window
Take advantage of the removal process to thoroughly clean the window. Wipe away any dirt, dust, or grime that may have accumulated. This will ensure a more transparent view and improved functionality of your window.
Screen Replacement or Repair
After removing the screen, determine whether it needs replacing or repairing. Inspect the screen for any tears, holes, or damage that may compromise effectiveness.
If repairable, follow the appropriate steps to mend the screen. If replacement is required, measure the dimensions of the opening and order a new screen accordingly.
By taking these post-removal actions, you can maintain the overall integrity of your window and ensure that it functions optimally.
Removing a window screen is a straightforward process that anyone can accomplish with the right tools and knowledge. Following the steps outlined in this article, you can easily remove a window screen for cleaning or repairs. Remember to prioritize safety by wearing protective gear and taking the necessary precautions. With a little effort and attention to detail, you’ll soon have your screen removed and ready for the next steps in maintaining your windows.